Why?
People can’t register for freenom consistently, and it can take time to get a domain from the one’s we have as a class. Duckdns allows people to create their own free domain, extremely easily, and nearly instantly.
Registration and Setup
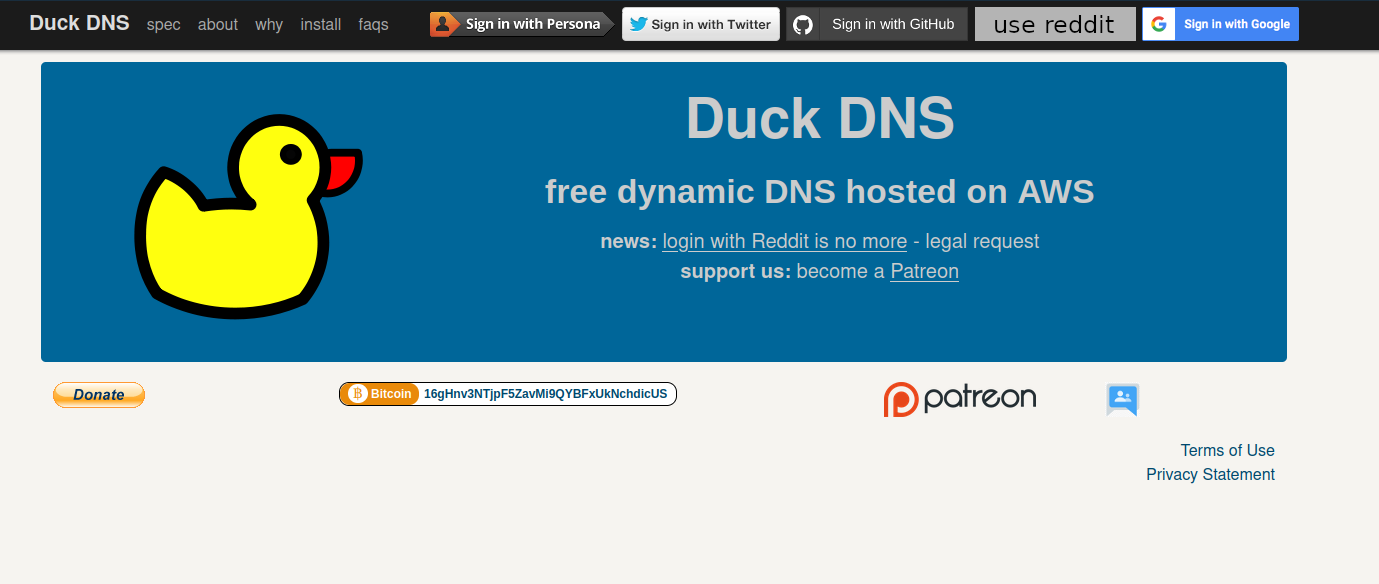
This is the registration page. I really like duckdns because you only need a github account to login, which we already have.

After you login, you will see this. You can get your own subdomain, and then set your ip address manually.
To find the ip address of your server, run this command on your AWS server:
curl ifconfig.me
If the command curl is not found, install it using apt.
Then, you can manually input your server’s ip address into the duckdns website.
In your nginx confiuration file, make sure you set your nginx configuration file to be your domain name.
server {
    listen 80;
    listen [::]:80;
    server_name [yoursubdomain].duckdns.org;

    location / {
        proxy_pass http://localhost:8087; # Make sure this matches the port your docker-compose.yml is set to
        # Simple requests
        if ($request_method ~* "(GET|POST)") {
                add_header "Access-Control-Allow-Origin"  *;
        }

        # Preflight requests
        if ($request_method = OPTIONS ) {
                add_header "Access-Control-Allow-Origin"  *;
                add_header "Access-Control-Allow-Methods" "GET, POST, OPTIONS, HEAD";
                add_header "Access-Control-Allow-Headers" "Authorization, Origin, X-Requested-With, Content-Type, Accept";
                return 200;
        }
    }
}